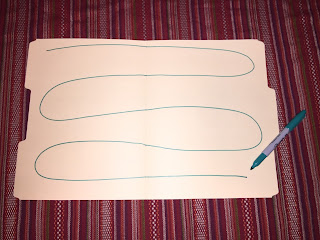
Task cards are great, but sometimes students can get bored with them. So I like to change it up in my classroom by having students use task cards with a game board!
Here is an easy, inexpensive way to make a game board for your classroom.
 |
| All you need are some markers, manila folders and 3/4" colored dot stickers. |
 |
| Use a marker to create a "path" on the folder. |
 |
| Write "Start" at the beginning of your path and "Finish" at the end. |
Here's a closer look at the way I wrote mine.
Not the best, but I try! :D
 |
| Now it's sticker time! |
 |
| Place dots on the path you drew. I chose to create a color pattern. Helpful tips for placement of dots can be found at the bottom of this post. |
 |
| Ta da! Game board done! Cute, colorful and best of all, easy and inexpensive to create! |
 |
| Oopsie! I got a little carried away with my marker. Don't let this happen to you! |
 |
| Here is the front cover. |
 |
| Here is another one I made. |
 |
| I made a spiral path on this one and spaced the dots further apart.
Instead of including directions on the game board itself, I explain how to use the game board to the entire class and let students know that they have the option to use it when they are working on task card stations.
Click here to see how I store my number cubes (dice) and game pieces that my students use with game boards!
Hope this was helpful!
|


No comments:
Post a Comment