Sunday, October 22, 2017

On Target With This Classroom Game!

I know the world we live in today is filled with amazing apps and technology that can be used in our classrooms to engage students and motivate them to participate. However, I wanted to share something I created years ago. I got the idea from one of the 1000+ teacher workshops I attended throughout my career. Every now and then I use it with my students and the reaction is always the same. “Miss! This is so cool!” and “Can we play this everyday?”  The best part is that it can be used in ANY classroom for ANY subject.

Materials needed:
About a yard of felt fabric, preferably a light color
Velcro strips or dots, but only the hook (rough) side
Permanent marker
Ping pong balls
Projector and document camera, such as an E.L.M.O. or an overhead projector
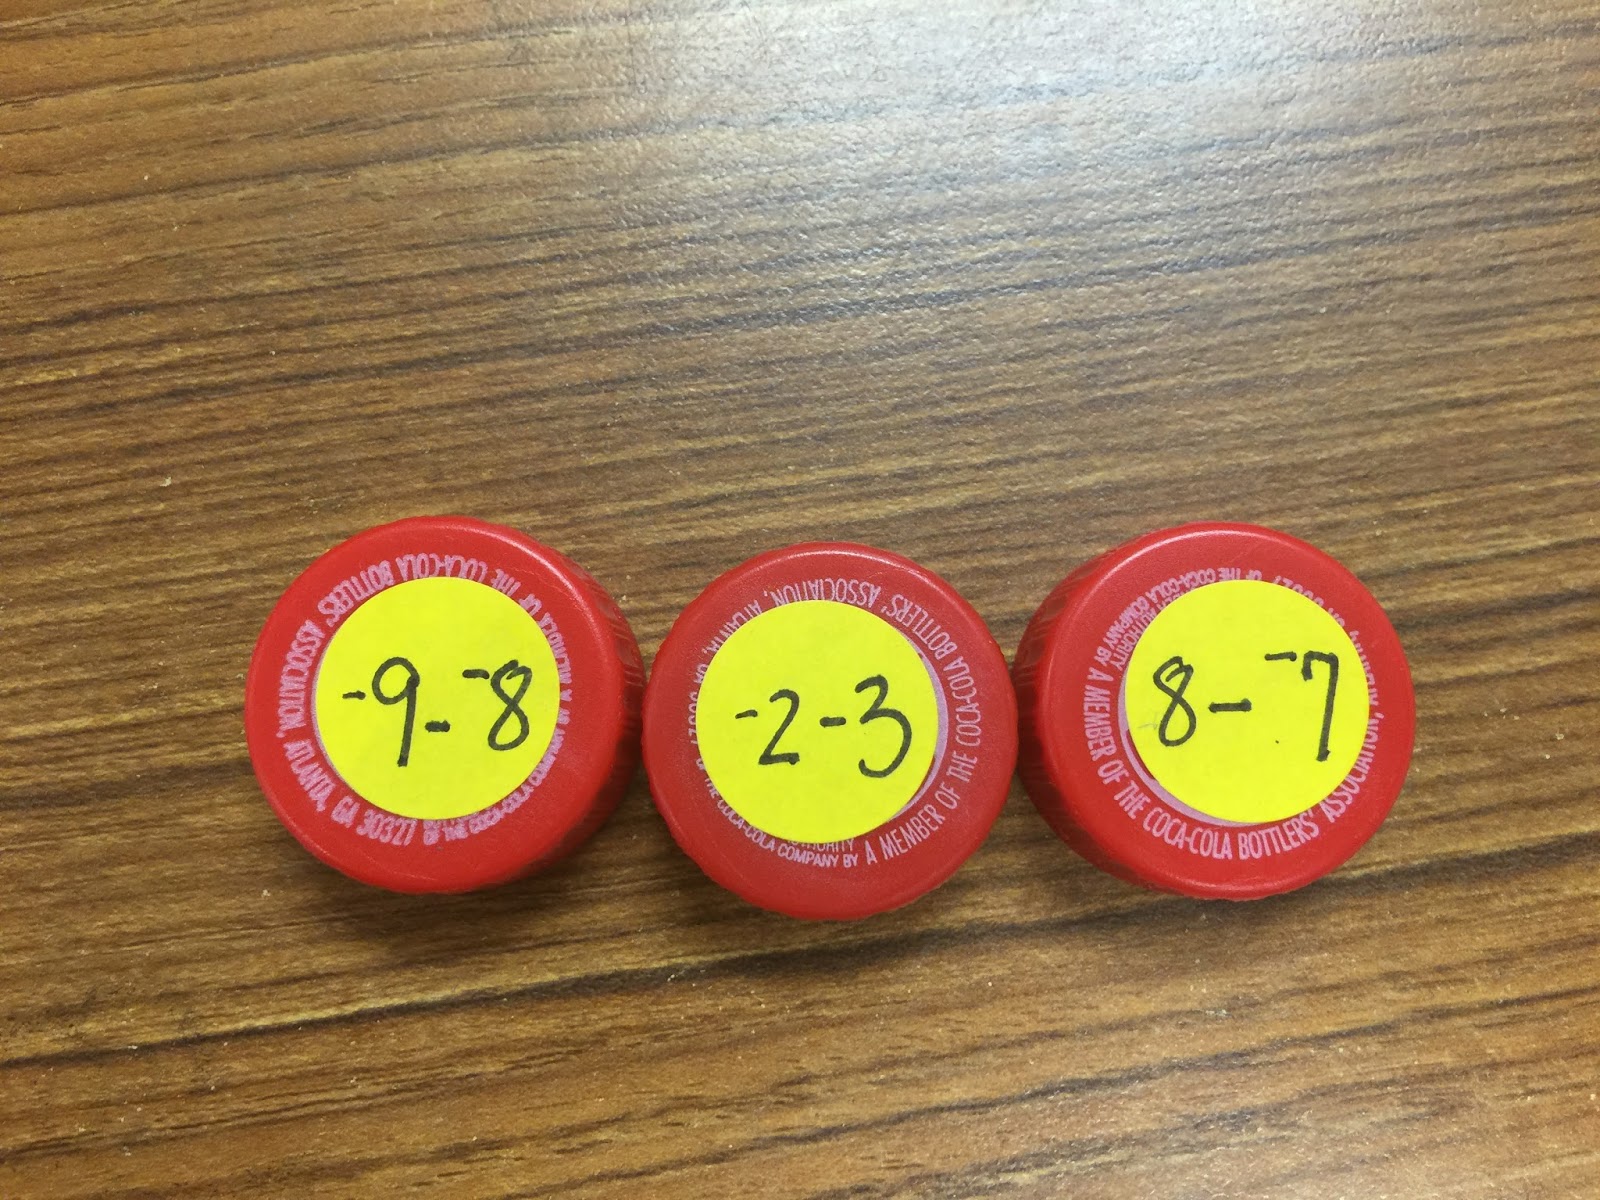
Picture of target with numbers


All I did was tape the felt fabric to the wall and project the picture of the target with the numbers on to it. I then traced the picture with a black permanent marker.  Light colored felt is suggested so that the marker is easy to see.


I then wrapped the ping pong balls with the hoop side of velcro strips. The hoop velcro will latch onto the felt target easily when the ping pong balls are thrown at it.


As you can see above, students throw the ping pong balls onto the target to score points for their team. The balls should be gently thrown underhand. If thrown rapidly or overhand, they will bounce off.  If that happens, students lose a turn. I demonstrate and inform them of this before we begin to play.

Now, how can we use it in class?

So many ways!!!

Divide your class into two teams and have them compete against each other by solving math problems, defining words, spelling, answering questions, etc. whoever gets the answer correct gets to throw a ball at the target and earn points for their team.  The possibilities are endless!!!


I also have students create names for their teams and take score on the dry erase board at the front of my class.

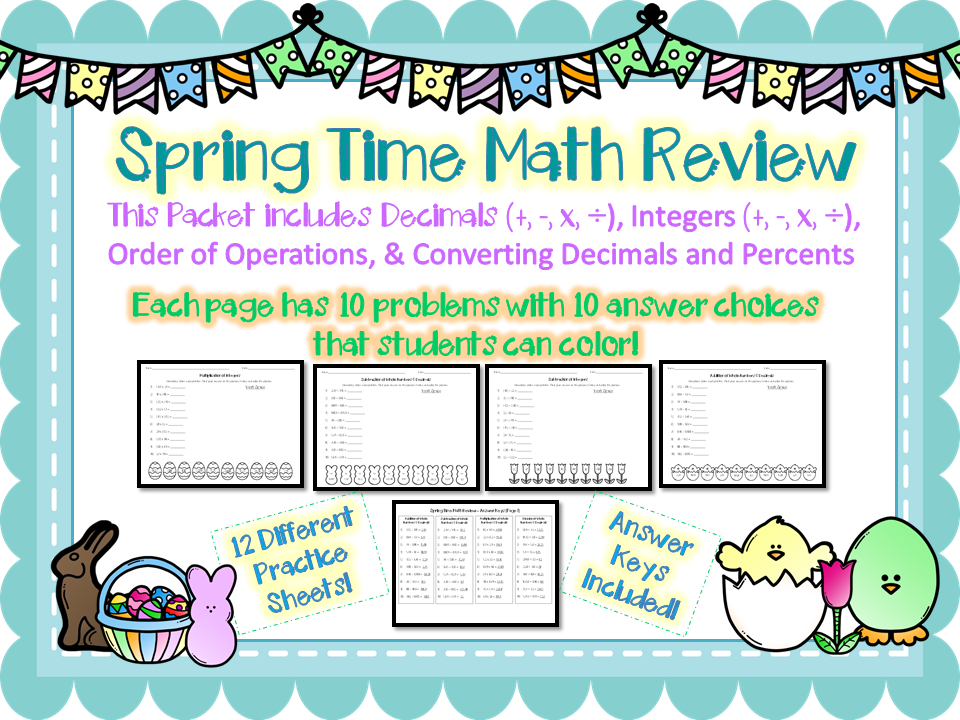
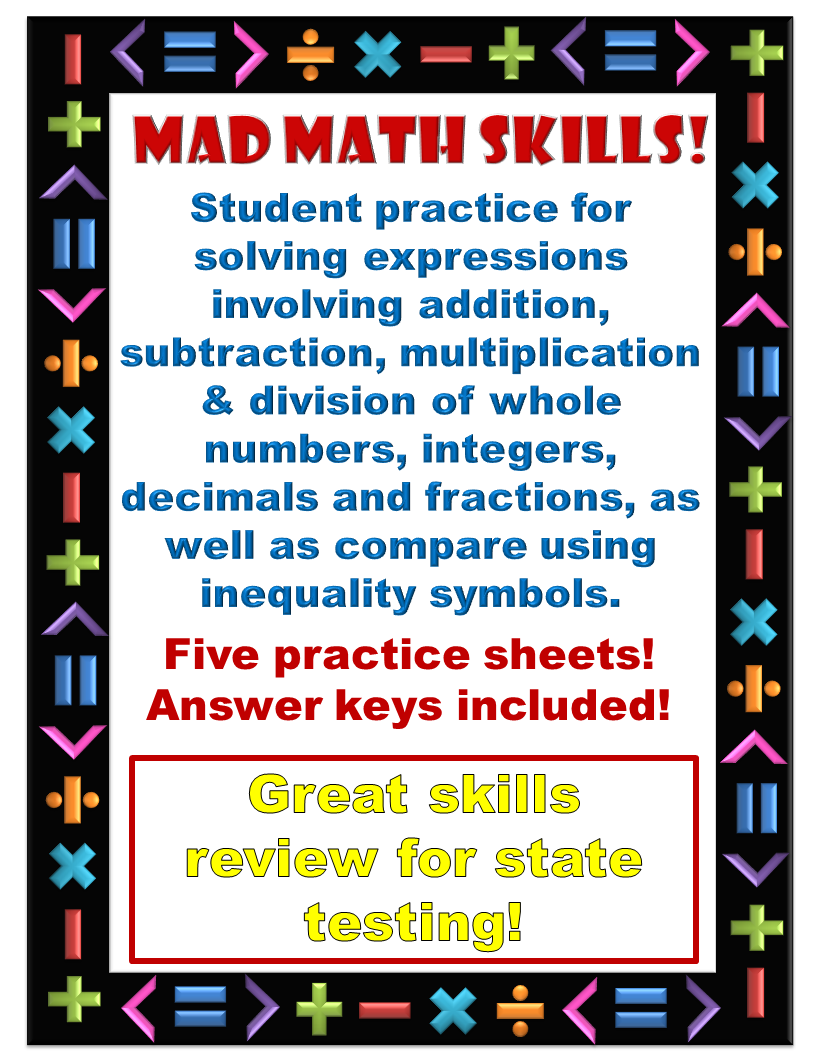
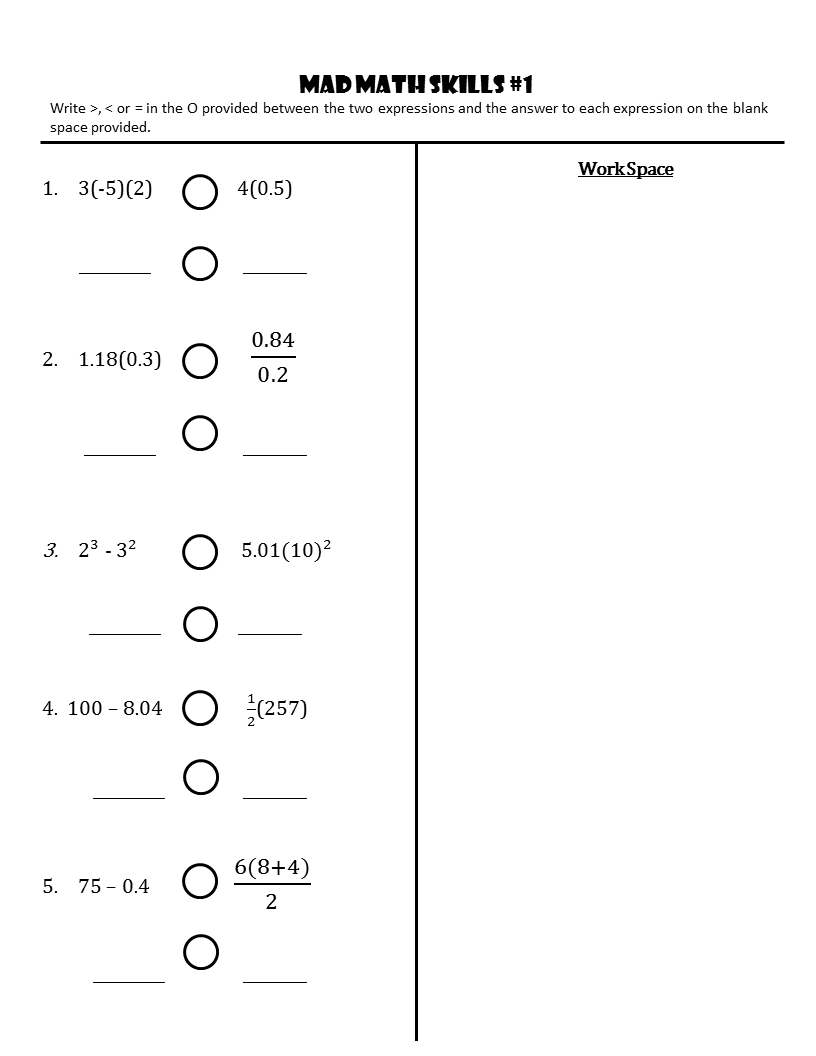
I used this last week and had students practice computation with decimals. I showed them decimal computation problems using PowerPoint slides and had the entire class solve them.  Students used dry erase markers and wrote on their desks to solve. To hold them all accountable for their practice, I don't announce whose turn it is until all have solved the problem. This keeps them on their toes since they don't know who will be chosen to answer for their team.

I then randomly choose a student's name from my set of name cards. That student then gives their answer.  If it is correct the student gets to try and score points for their team by tossing a ping pong ball to the felt target. Their team scores the number of points that the ball lands on.  If the answer is incorrect I randomly chose another student on the opposing team.

I do monitor throughout the activity and assist students that might be stuck or have forgotten a step.

Please share this idea with your colleagues. It certainly can be used in a variety of ways and for many subjects. Can you imagine it for a test review! YAAAAAASSSSSS!!!!

Here is a free powerpoint you can use with it. Just click and download.   Computation Practice with Decimals

I truly hope this is helpful.  Please share your ideas on how you can use it in your classroom!

Thanks for reading and have a great day!!!

Sunday, September 10, 2017

Integer Fluency

In life, there is always a positive and a negative to everything. But I'm not here to give you a life lesson on that. Wait, that just may be a positive! Anywhoooo! I just wanted to share some of the activities I've used in my classroom to help students practice integer fluency.

Bottle Cap Math
This type of activity can be used to practice many different types of math skills. Practice for integer fluency is one way I use it in my classroom

Step 1: Save enough bottle caps
Step 2: Wash them thoroughly. I placed mine in a lingerie bag and washed them in the dishwasher. Just be sure to lay the bag flat and spread out the bottle caps so that the soap and water can hit all of them.
Step 3: Write out integer  problems and answers on those circle color coding dots. I write problems on one color and answers on another.
Step 4: Adhere problems at the top of the bottle cap and answers on the inside.
Step 5: Find a container to keep them in and tape the directions to the container. One of those powder drink mix containers work great!
Step 6: Let the children “play” and listen to the wonderful conversations and peer tutoring that will occur.         


I allow one calculator per team to allow for immediate checking. I also have them write down their problems and answers on a sheet of paper.

Any types of plastic bottle caps can be used! You can use milk jug caps, sports drink caps which are bigger, soda caps and more!  However, I do use all of the same size and color caps for each activity, that way if one falls on the floor students know immediately which set it belongs to.

Here is a free download of the directions I adhere onto the container for this activity. 


Integer Fluency Circles
This is a fun way to practice adding, subtracting or multiplying integers! I have a class set laminated and have students write on them with dry erase markers. You can also use page protectors to do this if a laminating machine is not available.  Nothing like a little friendly classroom competition! Students LOVE to compete. Just give them the operation (adding, subtracting or multiplying) and the number that goes in the center of the circle and it's game time! This set includes different types to choose from, including a blank circle to create your own!


You can read more about these HERE.


Fact or Fib - Addition of Integers
This is a great way to get your students talking about integers! This animated  PowerPoint includes modeling of integers with two color counters and zero pairs to show students how to solve problems involving addition of integers. There are also some examples given at the beginning of the presentation as a review.

1st: Show review slides
2nd: Show first Fact or Fib problem
3rd: Give students think time (no blurting!) and then have them show their answer "Fact or Fib".  The signal I use in my class is "Ready? Set. Show!", they then hold card up to their chest so that only I can see their answer.  If I get 50-50 response, I have them talk to their shoulder partner about what the answer should be.
4th: Click to show the answer and two color counters, zero pairs and the correct answer will appear. Students can discuss further if necessary.
5th: Continue doing to same with the rest of the problems on the PowerPoint.


Many great opportunities will occur where students can explain to each other or discuss why the answer was a fact or fib.

What is a Fact or Fib? Click HERE to read about it.
Click HERE to see a video preview.
Click HERE to find it at my Teachers Pay Teachers Store.

Integer Spinner Game - Integer Fluency
This is a quick and easy prep activity that is great to use as a math station or math center. Just print, add a paper clip (a.k.a. poor man's spinner) to use as a spinner and play! A student work page is included to hold students accountable for their practice and learning.


Click HERE to see more on this activity.

Exponents with Integers - Matching Card Set
This activity will also make a great math station. It's more hands on in that students have to solve the problem on one card and match it with the answer that is on another card. It keeps them active. A student work page and an answer key is included as well.  

Click HERE to see this activity at my Teachers Pay Teachers Store.

I hope you like the different approaches I use in my classroom to help my students with integer fluency or maybe even inspired you to try different approaches.  Don't get me wrong. Worksheets are okay, however using varying activities will keep students more engaged in learning. 

Thanks for reading and I hope you have a positive day that involves absolutely no negatives whatsoever! 😉


Sunday, July 23, 2017

Class Word Search

Wow! It's been a while since I've posted!  I guess I've really been taking advantage of my summer break.  LOL

Any who!  I've been thinking about activities for the first week back to school and remembered one I used to do when I taught 5th grade. It think I'm going to use it again this year! 

Have you ever heard of the website Discovery Education?  It's really cool and it has lots of free resources for Teachers, Parents and Students! I'll share the link later.  ;)

Before I go any further, let me just say that I am NOT being paid to promote this site.  I do not take credit for any resources on this site.  My main goal is to share ideas and resources I have used in my teaching career in hopes that it will help someone, somehow.

Now, onward!

One of the resources I love to use on this site is Word Search. It's found in the Puzzlemaker section.  It's great for introducing vocabulary at the beginning of each unit. It get students familiar with the words they are going to be hearing and using.  However, it's also great for introducing students to each other in the classroom! It's also SUPER EASY!!!! We all like SUPER EASY don't we. There is nothing better that we like than that.  No wait. Yes we do! Did I mention that it was FREE!!!!! We all LOVE FREE!!!!  

So here is what I do.

First go to http://www.discoveryeducation.com/. Click HERE to get there quicker. ;)
You will see a Login button on the upper right hand corner, but quite honestly, I have never needed to use it.

Next, scroll all the way to the bottom.  You will see this.
Look under Free Teacher Resources and click on Puzzlemaker. They are circled in yellow.

It will then take you to this page.
Look at that list of resources. Amazing! Right? So much you can use that they have to offer!!!  Now click on Word Search.

BAM!!! Let's begin!
Step 1.  Type in the title you want to give your word search.


Step 2.  I leave this as is but you can change it. I've done 20 by 20 word searches before.


Step 3.  Puzzle options. I select share letters occasionally. Just to keep words spread out on the word search. You can choose the option you are more comfortable with.
Step 4.  I leave it as is, but of course the choice it up to you.  Don't you just love options!!!


Step 5.  Type in your list. It gives you three different options to use.  I use the last option.


Step 6.  Click on the Create My Puzzle! button and VOILA! That's it!
Here it is!  Now just print your word search and have your students find their name and their classmates names.

If you scroll down further, you will notice a Solution button. However, you do have to be registered to be able to get this.  I'm okay with out it though.  :)

Students LOVE to find and see their name on this word search! It's the first one they look for. Then they continue to find the rest of the names on the list.  I do let my students work with a partner or two, or three. I allow it because it becomes an bit of an ice breaker. It gets them to talk to each other.  This is great for me since I do have them talk a whole lot to each other during activities throughout the school year. So it's good that they get use to it early on.

I hope you get to go back a see some of the other things that this site has to offer! I've used the crossword puzzle before with vocabulary and definitions. It's a really good tool.

Oh! I almost forgot! Be sure to try Hidden Message!  It's a word search as well, but after students are done, they read the letters that were not used to reveal a "hidden message". Isn't that cool?!  The last time I used this one, I used "I hope you have an amazing summer" as the hidden message. As you can tell, it was at the end of the school year.

I hope this was helpful. The site definitely has many resources that you can use in any classroom and any grade level.

I know this is mostly a math blog, but please share this with teachers that teach other subjects. I'm sure they will appreciate it.

By the way, the link is http://www.discoveryeducation.com/

Be sure to bookmark it! ;)

Thanks for reading and have a wonderful day!!!

Sunday, April 9, 2017

Time to Review Skills for State Testing!

For many of us, state testing for math has not taken place yet, but it's right around the corner!
You know what that means?! Yup! Teachers are lighting candles and saying prayers all over the states! Also, sales for stress balls are skyrocketing! Not to mention wine sales are hitting the roof!

Okay! Okay. All mentioned above might not be true for everyone, but hey...ya' never know!  😉

Truth is, we are spending time reviewing with our students to make sure they remember the skills and strategies we have taught them throughout the year. Positive attitudes along with stress levels are high! (Sorry. My humor keeps getting in the way of my post.)😁

If you are getting stressed. Be sure to smile or laugh. As a matter of fact, be sure to do it every day and every chance you get! Laughter is a great stress reliever. Don't let the small stuff get to you. Ya' haven't died from state testing or state scores yet, and you aren't going to! I promise. :D  Just don't smile to hard, otherwise you're just going to look constipated. That's never a good look for anyone. (Oops! There's that humor again! Sorry!)😄

With that said, I just wanted to share time savers that I have for testing practice available at my teachers pay teachers store. They are quick and easy to prep and don't cost very much. I promise!

Small group instruction and math stations are a great way to review! Check these activities out. You might find something that will save you time and take a load of stress off your back at the same time.


Spring Time Math Review - This set has a great mix of computation review. It contains twelve different practice sheets and included answer keys. Students solve problems in space provided, then look for their answer found on the characters at the bottom of the page. They can shade in or color the characters.


Fraction, Decimal, Percents Puzzles - These are really quick and easy to prep. Just print and cut apart using straight cuts. No curves to go around. That takes FOREVER!!! Sorry, just a little venting. Anyway! Students match the equivalent fraction, decimal and percent to create a rectangle for the set.


Area of Composite Figures and Shaded Regions Loop Game - Loop Games get your students walking and talking about math! It's great to use for cooperative learning as well. Just print out cards, shuffle them up and tape them around the walls in your classroom. Then group students and have each group start at different cards. Students solve the problem on the card then look for the answer on another card in the room. Once they find it, they then go to that problem and solve it. This continues until students solve all problems and end up back on the first card they started on. A fun way to review and also gets students teaching other students if they forgot about a skill.


Fact or Fib Attributes of 3 Dimensional Figures - Fact or Fib is a great activity that will get the entire class involved. I have Fact or Fibs on PowerPoint so you can move on to the next slide when the class is ready. I have animated the slides which allows for more student engagement.  They are easy to use! Just show a slide, give students time to think whether the statement shown is a fact or fib, then countdown from three to have them all show their Fact or Fib cards at once. Click on to the next slide to see the answer. Students can then discuss why they chose they answer they did and if it was correct. Then move on to the next slide.  You can get a free download of my Fact or Fib cards HERE.


Polygon Smack Down - Don't worry!!! Students don't smack each other with this one! It is a competitive activity though! Divide class into two teams, show mini poster on the board or wall via projector, read a clue card, then countdown from three to let students know when they can go up and "smack down" their hand or fly swatter on their answer. Whoever does it first gets a point for their team! Lots of fun in the classroom with this one. I have a few to select from.


Mad Math Skills - This has five different practice sheets! A great way to review many skills at once. Answer keys are included for easy grading.  Each problem contains two expressions that students solve, then they compare the answers using inequality symbols. Can be used as class work, home work or even a warm up!


Gridded Response Boards for State Testing Practice - These are quick and easy to make and can be used year round! Just print, laminate or insert into page protector. Students can then use a dry erase marker to solve problems and show their response on one side and practice gridding their answers on the other side. Easy clean up too! If you didn't see one that you can use in your classroom, contact me! Maybe I can create it.

Well, there you have it! Just a few of the activities that I have created and have available at my Teachers Pay Teachers store. There are plenty more to choose from! So if you didn't find a skill you needed here but liked the activity, be sure to check out my store. I just might have the skill you are looking for with the activity you wanted. 

If there is something in particular that you would like to see, be sure to contact me! I just might be able to create it.

Thanks so much for looking and have a wonderful day and good luck to everyone on all state tests. Just like everything else, this too shall pass and so will our kiddos!!!  😉


Saturday, January 28, 2017

Pass Around Activities for the Math Class

I believe that providing opportunities for your students to discuss solutions to problems in math class is a must! They can learn from each other and teach each other. Let's face it, the reality is that some of our students will not always learn only from the teacher. We can show them 100 problems for the same skill or till we are blue in the face, sometimes they just need to hear it explained by their peers.

One of the activities I use in my classroom is called a "Pass Around".  There are many advantages to this activity. One is that you only need as many problems as you have groups. For example, my largest class is broken up into six groups, so I only need six problems when I use this activity. My smallest class is broken up into four groups, so I will remove problems five and six for that class.

Students are each required to show their work on their own paper, so everyone in the classroom needs their own work page. I will admit that when I first introduce this activity, some students try to get away with having only one work page for their group which leads to only one student doing all of the work. That is what we DON'T want to happen. So just look out for that. After doing this a couple of times, they get the idea. 

I then have them fold their work page in fourths and number the front 1, 2, 3, 4 and the back 5 and 6. This will change if you have a different number of groups in your class. If you have only five groups, you will have them number from 1 thru 5 and so on. The number of groups will correspond to the number of problems you will use. By the way, I have my students in groups of four. You can see how I set them up HERE.
     

The reason I have them fold their paper like this is because even at the 7th grade level, some students still write their work ALL OVER  the place on their paper. Some students do not organize their work neatly on their paper. This is even after I tell them to set it up like we did in our notes! Ah yes, the teenage mind. This technique will at least "contain" their work for each problem in a designated section of the paper. It makes it so much easier for me when I grade their work.

I also have them decide who will have the job of "problem number monitor" for their group. Their job will be to remind the group what problem number they are on and what section of their work page to show their work on. This is because all groups will be working on different problems as the problems will be rotating around the room.

I then set the timer according to the types of problems that are being solved. The first round always takes a little longer. I think it's because of the discussion and teaching that is taking place. I give them a minute or two less for the rest of the rounds. For example, if the problems are on order of operations, they might just need four minute rounds. But if the problems are about determining a missing dimension in similar figures, they might need six minutes. The number of steps will determine the time you give.

To begin the activity, I tell the class how much time they will have for their group to find the solution to the problem they start out with. I use timers from http://www.online-stopwatch.com/.  They have colorful and fun timers that you can display. Displaying the time really keeps the students on task.


When time is up, students remain seated in their groups and "Pass Around" their problem. I have students rotate their problems clockwise or counterclockwise around the groups in the classroom. But you must keep going the same direction for the entire activity so that they keep receiving different problems. Eventually, they will complete the set of problems.


Some classes will complete all of the problems and some won't. I'm okay with that! That's because the discussions that take place, the amount of peer tutoring that will occur, and the amount of learning that will be achieved will make up for it. You will see it happen as you monitor the classroom during the activity. You can also do some one-on-one teaching and small group instruction. You will encounter "that group" that you will need to remind to stay on task, but that is nothing new in our career. :)

The best part? I didn't need to make copies of a worksheet for every student! I only needed one worksheet to cut up and write problem numbers on.

Here are more suggestions on preparing a "Pass Around" activity for your classroom.
  • Instead of just cutting up a worksheet, type up the problems and print them out on colorful card stock.
  • Laminate for durability.
  • Students can use dry erase markers on laminated cards to underline or circle important information.
  • Add clip art related to word problems to help students understand what the problem is about.
  • Print the problem so that you can fold the page in "tent" form so that all students in the group can see the problem better. Check out the pictures below. 
Same problem at the top and bottom
but opposite orientations.
Students in the group can see and read
the problem from the front...
...and the back when folded in half
to create a "tent".
  

 I hope you will try this activity out in your classroom. It will work for any subject and grade level. You can use it as a test review, guided practice, or for an enrichment class. I know it makes a difference in my classroom, I'm sure it will in your classroom too! ;)

If you have any questions, please don't hesitate to ask! I'll help with what I can.  Thanks for reading and have a wonderful day!!!


Sunday, January 22, 2017

Line them up!

I teach six 45 minute 7th grade math classes and one 45 minute math enrichment class. The math enrichment class rotates with three other core subject area teachers in my pod throughout the week. During enrichment, I try to focus on students' math weaknesses and create or look for activities to strengthen them. With that said, there is one weakness that was really driving me nuts! So this is what I did.

Many of my students were making careless mistakes when adding or subtracting whole numbers and decimals. They know about place value. They know how to set up a whole number as a decimal. However, I think they get "caught up in the moment" when solving a problem and just rush through it.  I don't know if you are aware of this, but, some students just don't like math and their goal is usually to hurry up and finish their work so that they can do something else. (Insert sarcasm here.)

I've tried several strategies, such as having them write whole numbers as money. Everyone likes money, right?! Well, that only helped a few. Then I tried having them underline the ones place in the numbers and to line those up. That was a flop. Apparently, it's too much work to underline numbers. When I would point it out to students, their response was, "Oh! I forgot." Now, when I say "point it out", all I had to say was, "This is set up incorrectly." and almost immediately they remembered the proper way.  So this is why I say that they are just rushing and they really do know how to do this. Don't you hate that this sort of stuff happens a lot in math class?

When I taught fifth grade back in the day, I remember a snowman activity I created that would help students focus on the correct way to set up problems when adding whole numbers with decimals. I gave students a picture of a snowman and a problem. They were to add three numbers, two decimal numbers and one whole number. They were to set up the numbers on the body of the snowman so that the decimal points were the buttons on the snowman. It was only one problem, but my goal with this activity was about quality, not quantity. It really helped that time, so why not try it out with my 7th graders during enrichment?

This is the activity as I created it for my 7th graders.


I made 26 different problems involving addition of two decimal numbers and a whole number. Students were each given a problem but asked to work in groups so that they could discuss and help each other when solving. 


Everyone has a different problem, so no cheating could take place. I asked them to solve their problem on the back of their page first so if they had to erase, it was okay. Notice the snowball at the lower right hand corner? That's their problem's letter. After they solve their problem, they were to go to the board to check their answer. They just had to look for their problem's letter to do that.


I also displayed a picture of the snowman with a problem completed to show students how the "buttons" should look.  If they answered correctly, they were to complete the front of the page and color the snowman. If they were incorrect, they were to go back and correct it.


Students did enjoy the activity and there were many great discussions.  With this activity, I know a great memory was made that will help them remember to line up those decimals! Their discussions also helped them to complete the statement at the bottom of the page. It also makes a great display. It's a win-win!!!

You can find this activity HERE.

I hope you find this activity helpful. It can be used for different grade levels, as a ticket out the door or as I review.  

Thanks for reading and have a wonderful day!!!!


Sunday, January 1, 2017

New year! New you! New seating assignments?

I hope everyone brought in the new year with happiness and joy! I also hope you have had the chance to re-energize during winter break for the second half of the school year!

It's been a while since my last post. I blame it on work overload and holiday chaos. I'm sure many can relate.  ;)

Any who! It seems the new year has blessed me with a huge wave of ideas and energy. (I truly hope it will last all year.) 

I'm actually thinking of going to work before I actually HAVE to go to work, if you know what I mean. You know the saying, "New year, new me!" Or at least, new seating arrangements and new seating charts. Yeah, it's about that time.

Let's talk about these, shall we? This is what I do in my classroom.

I have my desks set up as illustrated below. I actually write the letters and numbers on the desks with permanent marker. I've tried the colored dots, labels, stickers, etc. with packing tape, but some students keep fidgeting with the tape and curling the ends. GRRRRRRR! Don't you just hate that?


The number on each desk is the group number and the letter represents the student sitting at that desk. It comes in handy and definitely avoids confusion. For example, if I'm calling up a group to conduct a presentation in front of the class, I just call on Group 3 when it's their turn. If it's time to put away journals, I'll just have student C from each group put them away. No arguing. No chaos. I love it! You can find more information about writing on desks with permanent marker HERE.

By the way, I refer to this as "Position One". All desks facing the front of the classroom. As you can see, the illustration above shows 24 desks. You know and I know that not ALL classes have exactly 24 students, so you have to be creative for some classes. If I ask student D to gather the supply baskets for their group and student D from Group 4 is absent or no one sits at this desk, I just tell students to go on to the next in line which would be student A in their group. I just needed to tell each class about this once and they caught on really quick.

My students talk a whole lot in my classroom. I love for students to discuss ideas for solutions, take turns explaining to each other, and peer tutor during certain activities. "Shoulder partners" are perfect for doing this! So is "Position One".  Group 1 is shown below. Students A and B are shoulder partners and students C and D are shoulder partners.  If the activity involves taking turns, I'll just have students A and D from each group go first, then tell students B and C to go second.  It works really well in my classroom.
 
"Position Two" is for group activities, such as stations, projects, etc. Sometimes, I even allow students to sit in "Position Two" to complete a practice sheet for a newly presented skill. This gives students that are struggling or don't understand something a chance to ask students in their group for help. This works really well for students that are too shy to ask the teacher for help in front of the whole class. Some students prefer to ask a peer instead of the teacher on certain situations. They just feel more comfortable doing that. I'm okay with that as long as they are learning!


As you can see, only students A and B move their desks so that they face each other. Students C and D remain in the same position. This makes the transition from one position to the other easier, quicker, quieter and smoother.  It also allows all students in the group to face each other to allow for better communication during activities.


By now you have noticed the order of the letters in my groups. It comes in handy for activities that require all students in a group to take turns participating. I direct them to take turns clockwise or counterclockwise. This is so that they can understand what direction clockwise and counterclockwise go in, especially if and when it appears on a particular test. You know it will and not only on a math test. ;) Most importantly, with more vocabulary, they receive more knowledge and more power!

Another advantage to setting up your desks this way is that you can make larger groups for other activities. For example, you can have all A's form a group, B's form another group, all C's form a group and all D's make the last group. They can do a gallery walk activity then reconvene with their main group to share ideas they gathered from the group they were just in! Imagine all of the discussions, ideas shared and learning taking place!

Whew! That sure was a whole lot of information!  I truly hope it is helpful.

I'd like to spend a little more time explaining how I assign seats now. I promise, I'll be quick. 

I don't allow my students to just sit anywhere they would like. I'm pretty sure you know why. I use test data.  For example, when we finish a unit and take the unit test, I place students from highest score to lowest score. I then create quartiles, so that I have quartile 1 (highest), quartile 2, quartile 3 and quartile 4 (lowest).  I place one student from each quartile to form one group alternating between highs and lows. This way, students can peer tutor each other when they are doing a shoulder partner activity and their levels are not so far apart that they will get frustrated with each other. I also do take personality conflicts into consideration. :)


I hope these tips on seating arrangements are helpful! As anything else in life and on the internet, all of these are not guaranteed to work but they are definitely worth a try!  I do understand that everyone is different, students and teachers alike. I also understand that everyone has their own ideas as well.  I am just sharing what works for me in my classroom in hopes of helping someone else.

Thanks so much for reading and have a wonderful 2017!

If you do have any questions, please don't hesitate to contact me. I will get back to you as soon as I can!  ;)