Showing posts with label math games. Show all posts

Monday, June 11, 2018

Dollar Tree Items for Your Classroom


Well, hello there! I know it's been a minute since I've posted, but it's summer now and I actually have time for myself!!! Hollaaaaah if you can relate!!! 🙌😉😄

Soooooooo...with that said, I went to Dollar Tree today and my mind was whirring with ideas as I walked through each and every aisle. Yes. EVERY aisle. That's what one does when at Dollar Tree. Go through EVERY aisle because one does not want to miss anything that could have a multitude of uses in the classroom.

Wait. Please don't tell me that I'm the only one that does this! 😲😳

NAAAAAAAHHHHHHH! I know there are others like me out there. Right?😏

Anywhoooooo!!!!! Onward to ideas I envisioned in my mind with all of the stuff I saw today.

📓📕✏✂📂📎📒📚📌📏📓📕✏✂

Item #1:


You can create a durable $1 Math Station with these miniature tower blocks! Just write a math problem on each block and assign it as a math station. Of course, you can buy more than one. Create a station for addition, subtraction, multiplication and/or division of whole numbers, decimals or integers. Whichever suits your grade level. I created a math station for my middle school classroom with a larger version that I found at a Goodwill store.

Here's a link 👉CLICK!

I grabbed a few of these and will post pics when I have them done. (Be sure to click the blue FOLLOW button on my blog page so that you will receive an alert when I post them!😉)

📓📕✏✂📂📎📒📚📌📏📓📕✏✂

Item #2:


These aren't just regular craft sticks. They are JUMBO SIZED craft sticks!!!! That means that they are PERFECT for writing on with a fine tip permanent marker. I have used these before for random name calling in my classroom. Wait! I don't think I worded that correctly. I can assure you that I don't call students names, randomly, in my classroom.😳

What I meant was, I write one student's name per craft stick and use them to keep students engaged. They don't know whose name will be chosen for the next question or who will explain next, so they are "motivated" to listen carefully during lesson.

Being a middle school math teacher, I have more than one class. So, I color code sets to help keep them organized. For example, I use a red marker to write the name of my 1st period class, blue marker for my 2nd period class, and so on. I also write the number of the class period at the bottom of the craft stick. A small plastic cup, rubber band or, my favorite, a Crystal light container with a lid can be used to house them for when you are ready to use them.

I have also used them in a few of my math stations. I'll be posting how I do this soon, so stay tuned!

📓📕✏✂📂📎📒📚📌📏📓📕✏✂


Item #3:


Acrylic Frames that only cost $1 can be used to display directions at a math station, list of expectations for a certain event, or even used to post reminders by the pencil sharpener. Just print in color or on colored paper and slip into the frame. They come in various sizes too!

I also realized that you can write on these with a dry erase marker. DO YOU KNOW WHAT THAT MEANS?!?!?! You can type up a student list with boxes beside them to use as a check list! So you can place a basket/box where students submit their assignments and have them put a check in the box by their name when they turn it in. (Or you can do this.) This idea will definitely help keep track of who still needs to submit an assignment.


Here is an example of how I used one in my classroom. I love this quote by William Glasser and needed something to cover up all of the wires behind my computer screen, soooooo TA-DA!!!!

Here is a link for a FREE DOWNLOAD of this mini poster

👉FREE MINI POSTER

📓📕✏✂📂📎📒📚📌📏📓📕✏✂


Item #4: 


I have bought these before in the past and think that they are TERRIFIC to use for storing small items in the classroom. At 3 for $1, it's definitely a bargain and the clips on the side make it so easy for students to open and close

Playing cards fit PERFECTLY in these small containers. Dollar Tree usually has a package that includes two sets of playing cards for $1. One set has a red design on the back and the other set has a blue design. This makes it easy to sort them.


I'm working on a post that will show the different ways I organize and use playing cards in my classroom. Be on the lookout for that!!!😉

These can also be used to store colored counters, dice, bingo chips, and two-color counters. Ooooooh! How about task cards for stations? They also come in green and blue.

📓📕✏✂📂📎📒📚📌📏📓📕✏✂

Item #5:


I posted about an activity I've used involving Velcro and ping pong balls. Well, I saw these at Dollar Tree today and wanted to share, again. All you need is about a yard of felt fabric and a black permanent marker, plus Velcro and ping pong balls. Trust me. Your students will thank you for this one. 😊😉

Click here for that activity
👉On Target With Math

📓📕✏✂📂📎📒📚📌📏📓📕✏✂

Item #6:


I just LOVE these tiny containers! They are always available at Dollar Tree. They have them in a circular shape as well, but I prefer the rectangular ones because they are easier to stack and store.

These are just some of the ways I use them in my classroom. Perfect size for setting up with stations. My students were also pretty good at putting everything back in the container. Of course, I always told them that if we lose any pieces, we can't do math stations! I think that might have had something to do with it. 😉


📓📕✏✂📂📎📒📚📌📏📓📕✏✂

Item #7:


I also found this two pack of cute mini buckets that came with a "bonus".....a third mini bucket! All I saw was "3 for $1" and I was hooked!

Mini buckets are great to have in the classroom to use as mini "trashcans" when ever you have those group paper cutting activities. I instruct students to place all trash in the bucket and when everyone in their group is done, one group member could stand up, walk over and empty out the mini bucket in the classroom trashcan.

They can also be used to prepare items needed for the day's lesson. Store scissors, markers, rulers, pencils, etc. and have the "Materials Manager" for each group pick up the bucket when the class is ready to begin the activity. The "Material Managers" should also be responsible for making sure everything is placed back in the bucket for the next class.

These buckets can also be used to prepare items needed for the day's lesson. Store scissors, markers, rulers, pencils, etc. and have a "Materials Manager" for each group so that they can pick up the bucket when the class is ready to begin the activity. The "Materials Manager" should also be responsible for making sure supplies are placed back in the bucket so that it will be ready for the next class.

I assign groups numbers in my class, so I label my buckets with numbers. It's just easier to keep tabs of materials and buckets.

📓📕✏✂📂📎📒📚📌📏📓📕✏✂

Wow! You're still here!!!!

❤❤❤I really appreciate that!❤❤❤

Thanks so much for stopping by and reading through. I hope you find my ideas useful and I sincerely hope that you stop by again! I'm really looking forward to sharing more of my ideas with you.

Be sure to click the blue FOLLOW button on the right side of my blog page (closer to the top) so that you will be notified when I post again!!!!

Please be sure to share any ideas you have for using these items in your classroom in the comment section below! I'd love to read them and I'm sure other would too. 😊

Thanks again and have a wonderful day!!!😉

Sunday, April 9, 2017

Time to Review Skills for State Testing!

For many of us, state testing for math has not taken place yet, but it's right around the corner!
You know what that means?! Yup! Teachers are lighting candles and saying prayers all over the states! Also, sales for stress balls are skyrocketing! Not to mention wine sales are hitting the roof!

Okay! Okay. All mentioned above might not be true for everyone, but hey...ya' never know!  😉

Truth is, we are spending time reviewing with our students to make sure they remember the skills and strategies we have taught them throughout the year. Positive attitudes along with stress levels are high! (Sorry. My humor keeps getting in the way of my post.)😁

If you are getting stressed. Be sure to smile or laugh. As a matter of fact, be sure to do it every day and every chance you get! Laughter is a great stress reliever. Don't let the small stuff get to you. Ya' haven't died from state testing or state scores yet, and you aren't going to! I promise. :D  Just don't smile to hard, otherwise you're just going to look constipated. That's never a good look for anyone. (Oops! There's that humor again! Sorry!)😄

With that said, I just wanted to share time savers that I have for testing practice available at my teachers pay teachers store. They are quick and easy to prep and don't cost very much. I promise!

Small group instruction and math stations are a great way to review! Check these activities out. You might find something that will save you time and take a load of stress off your back at the same time.


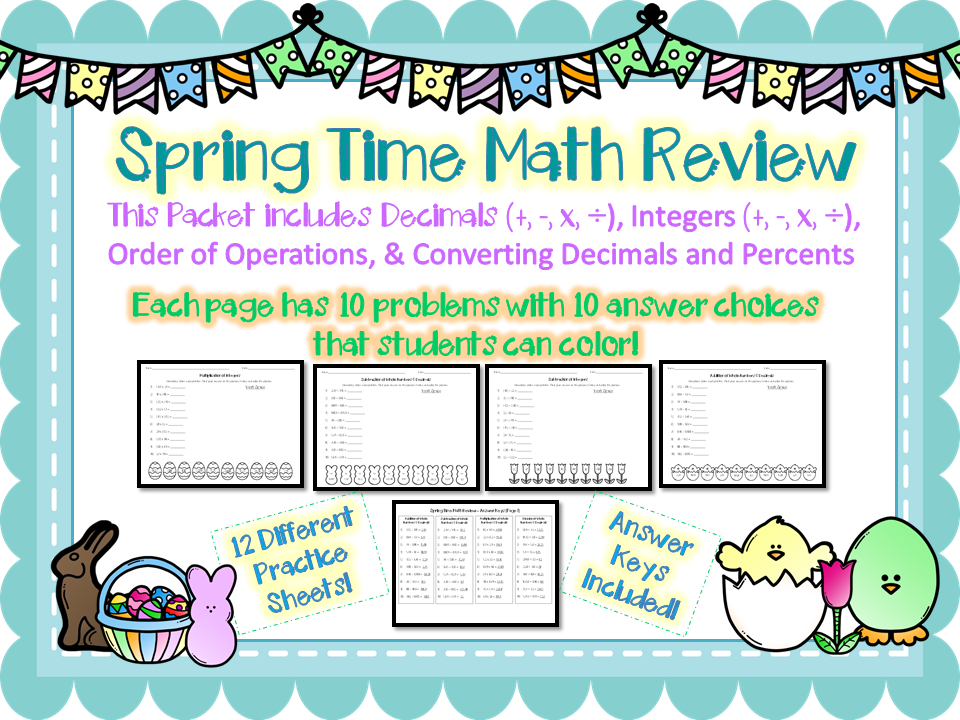
Spring Time Math Review - This set has a great mix of computation review. It contains twelve different practice sheets and included answer keys. Students solve problems in space provided, then look for their answer found on the characters at the bottom of the page. They can shade in or color the characters.


Fraction, Decimal, Percents Puzzles - These are really quick and easy to prep. Just print and cut apart using straight cuts. No curves to go around. That takes FOREVER!!! Sorry, just a little venting. Anyway! Students match the equivalent fraction, decimal and percent to create a rectangle for the set.


Area of Composite Figures and Shaded Regions Loop Game - Loop Games get your students walking and talking about math! It's great to use for cooperative learning as well. Just print out cards, shuffle them up and tape them around the walls in your classroom. Then group students and have each group start at different cards. Students solve the problem on the card then look for the answer on another card in the room. Once they find it, they then go to that problem and solve it. This continues until students solve all problems and end up back on the first card they started on. A fun way to review and also gets students teaching other students if they forgot about a skill.


Fact or Fib Attributes of 3 Dimensional Figures - Fact or Fib is a great activity that will get the entire class involved. I have Fact or Fibs on PowerPoint so you can move on to the next slide when the class is ready. I have animated the slides which allows for more student engagement.  They are easy to use! Just show a slide, give students time to think whether the statement shown is a fact or fib, then countdown from three to have them all show their Fact or Fib cards at once. Click on to the next slide to see the answer. Students can then discuss why they chose they answer they did and if it was correct. Then move on to the next slide.  You can get a free download of my Fact or Fib cards HERE.


Polygon Smack Down - Don't worry!!! Students don't smack each other with this one! It is a competitive activity though! Divide class into two teams, show mini poster on the board or wall via projector, read a clue card, then countdown from three to let students know when they can go up and "smack down" their hand or fly swatter on their answer. Whoever does it first gets a point for their team! Lots of fun in the classroom with this one. I have a few to select from.


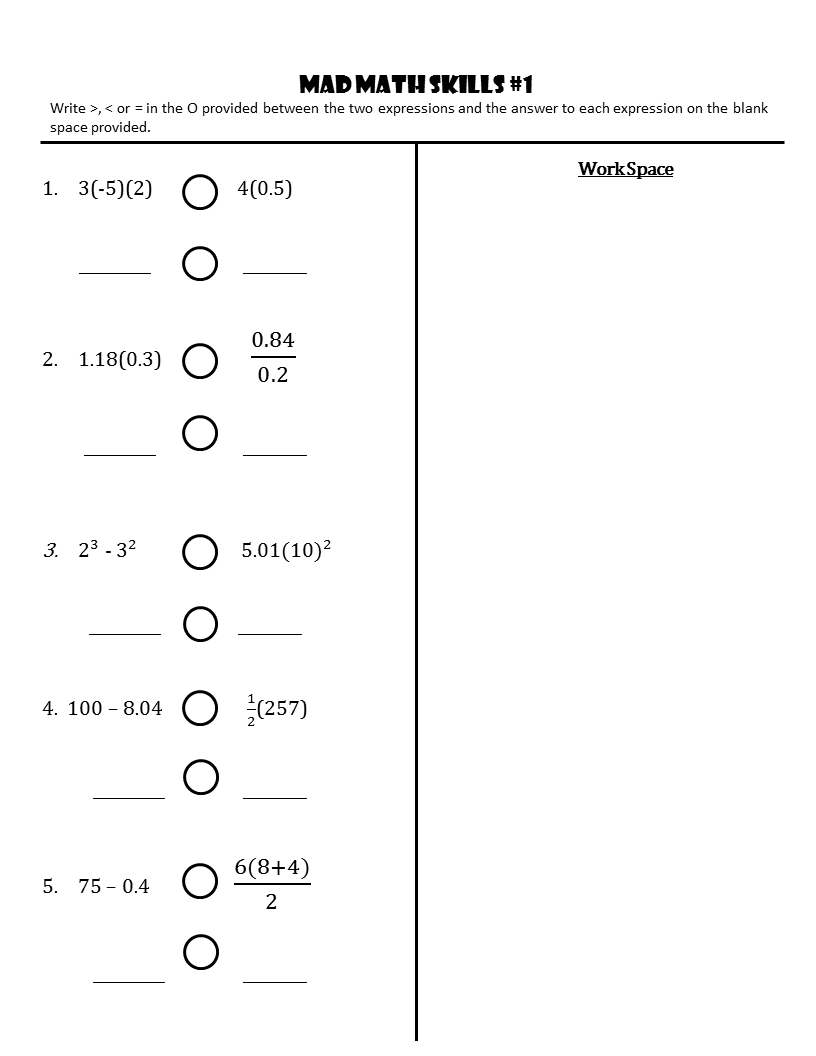
Mad Math Skills - This has five different practice sheets! A great way to review many skills at once. Answer keys are included for easy grading.  Each problem contains two expressions that students solve, then they compare the answers using inequality symbols. Can be used as class work, home work or even a warm up!


Gridded Response Boards for State Testing Practice - These are quick and easy to make and can be used year round! Just print, laminate or insert into page protector. Students can then use a dry erase marker to solve problems and show their response on one side and practice gridding their answers on the other side. Easy clean up too! If you didn't see one that you can use in your classroom, contact me! Maybe I can create it.

Well, there you have it! Just a few of the activities that I have created and have available at my Teachers Pay Teachers store. There are plenty more to choose from! So if you didn't find a skill you needed here but liked the activity, be sure to check out my store. I just might have the skill you are looking for with the activity you wanted. 

If there is something in particular that you would like to see, be sure to contact me! I just might be able to create it.

Thanks so much for looking and have a wonderful day and good luck to everyone on all state tests. Just like everything else, this too shall pass and so will our kiddos!!!  😉


Saturday, November 5, 2016

Loop Game in Action!

What is a Loop Game?

It's a great way to get your students to become engaged in learning, to discuss and explain how to solve problems and to have students peer tutor other students.

Let's face it, some students can find worksheets boring. Loop Games will definitely break up the monotony that sometimes occurs in the classroom due to daily worksheets.

They can be used in a variety of ways from test reviews to having students practice skills while you work small group.

It's easy to monitor the class because students are walking around solving problems and having discussions while you facilitate learning.

I usually put students in groups of two to three, depending on the class size. I also make a reduced copy (print 2 to 4 pages on one sheet) of the Loop Game to use as an answer key so that it's easier check students' progress throughout the game as I am monitoring.

Here are some of my students in action during a Loop Game.


Notice the white pages with the blue border that are taped to the wall in each picture? This is how I set up my Loop Games. Students start at one of the problems, show all of their work on a sheet of paper and when they find the answer, they then look for the next card that has the answer they found at the top of the card.

For example, in the picture shown below students would ignore the 2 at the top of the first card because that's the answer to a problem on another card. They would solve the problem 5 x (63 ÷ 7) + 7. and then look for the answer at the top of another card in the room. In this case the answer is 52. Students would then solve (36 ÷ 6 x 5) - 20 and look for that answer at the top of another card in the room. In this case, the answer is 10.


Students then continue to do this until they locate the answer to the last problem at the top of the card they originally started at. Hence the name "Loop Game". Now, if they end up on the card they started at but did not solve all of the problems on the cards, that should tell them that they solved a problem incorrectly. To get them back in the game, I tell them which card they erred on to avoid frustration on their part.

Something I forgot to mention is that when I set the game up on the wall I make sure I mix up all of the cards so that the problems won't be in order. That way students won't expect their answer to be on the next card. I also have students start at different cards to avoid crowded areas. It's easier to monitor students when they are spread around the room.

Sometimes, I stand at the center of the room and listen to the conversations going on. I can say that I have smiled quite a bit! Mostly when I hear a student explaining to another student how the problem should be solved.

The best is when students in the same group rush over to me and show me their answers and they happen to be different. They ask, "Miss, who is right?". Well, I answer a question with a question of course and ask each to explain the steps. As they are explaining, that's when it dawns on the one with the wrong answer what he or she should've done to get the correct answer. Then it happens. The student with the correct answer yells, "I told you! I told you I was right!". I love the confidence in their voice.

Students rushing over to the teacher because they want to prove that they are correct! Imagine that. How often does that happen? LOL

I hope this information is helpful and that you try this activity in your classroom!

Here's a Loop Game you can try for FREE with your students!
Just click HERE.

Be sure to try out some of my other Loop Games at my TPT Store.

https://www.teacherspayteachers.com/Store/Math-Imagination

If you are interested in a Loop Game for a particular math skill, just contact me! I'll create it and post it on my Teachers Pay Teachers store.

Thanks for reading and have a wonderful day!!!

Tuesday, July 12, 2016

Change it up a little with this dice game!

At the beginning of each school year, I find it helps students to do activities that will review skills that I know they didn't practice during the summer. 

This is an easy activity to prep and use to review computation of three digit numbers, as well as place value.


All you need are 7 number cubes (a.k.a. dice), label stickers and a marker.  Actually, you can use as many number cubes as you wish. 
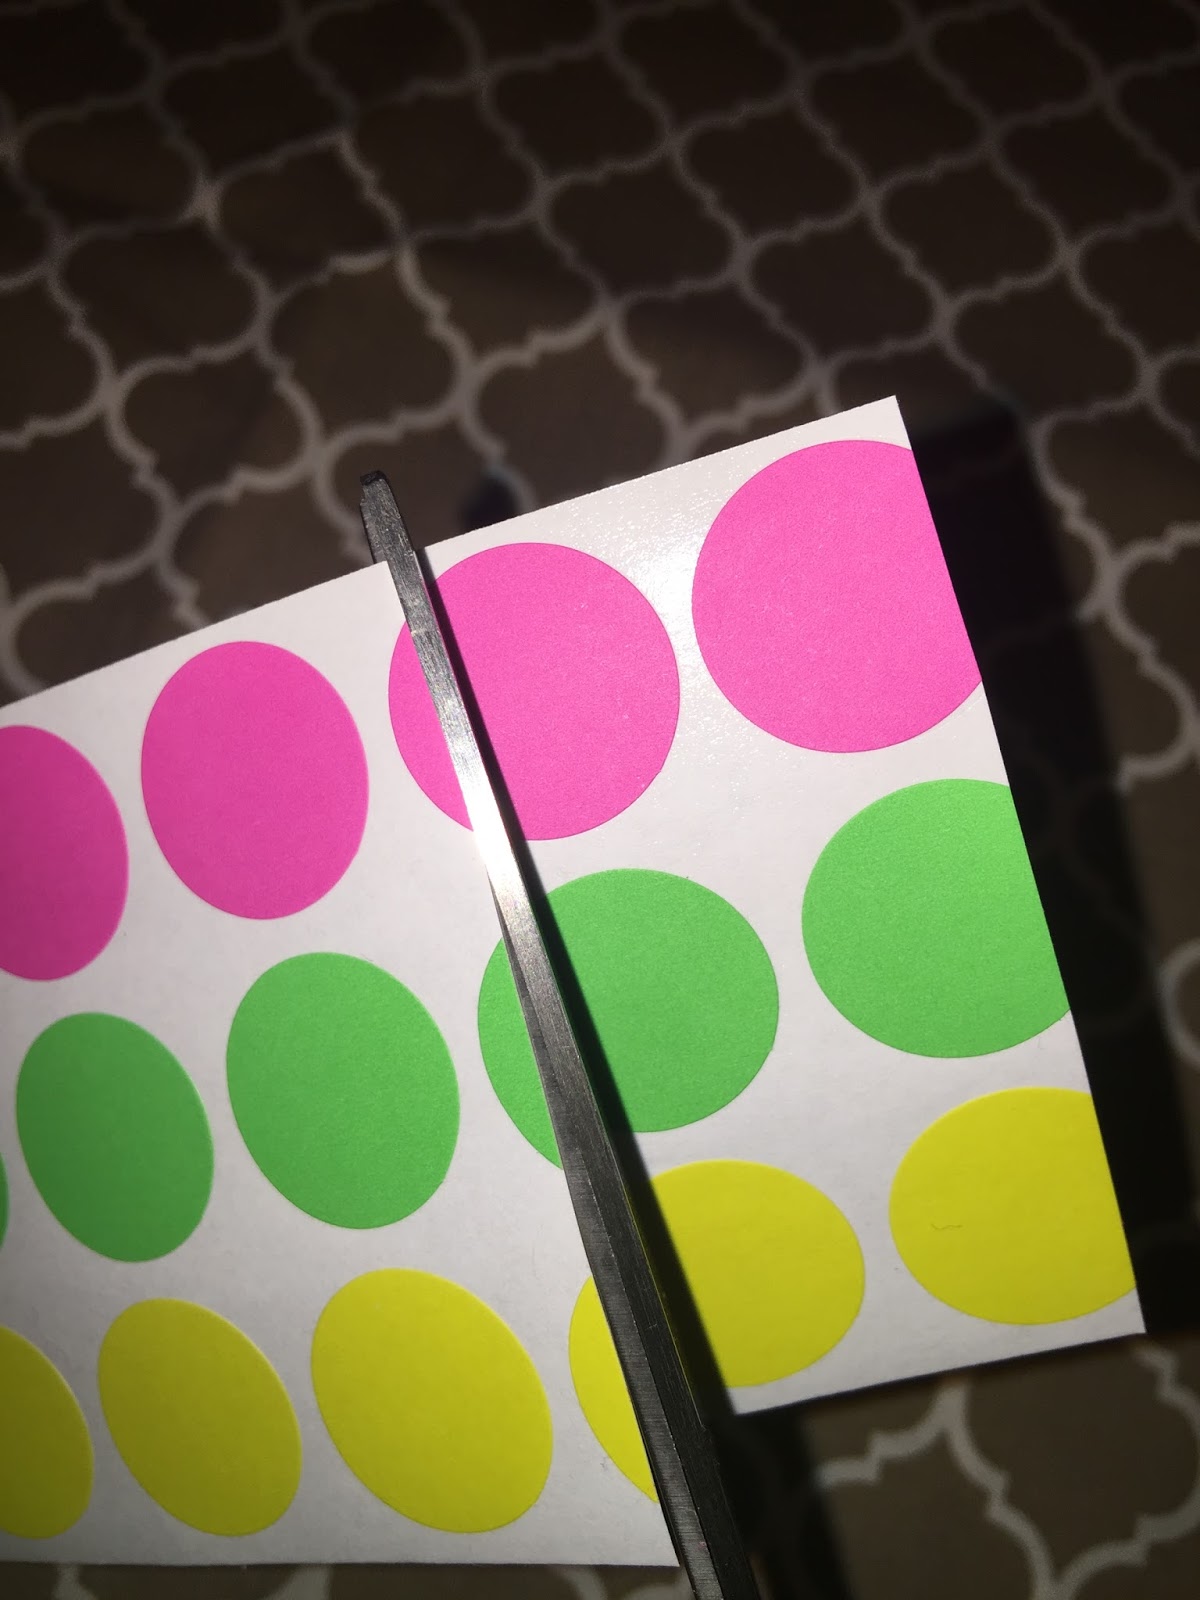
I only had these circle stickers available, but they were larger than the sides of the cubes, so all I did was cut them into the squares. 


You will only need six stickers per cube.


For this set, I only used addition and multiplication.  But you can change it up depending on the grade level.  Just keep in mind that if you use subtraction, some answers will be negative.  If you use division, instruct students to create a fraction/mixed number or decimal as the answer.  Rounding might be necessary for the latter.

I placed a multiplication sign and addition sign opposite to each other.  In other words, "X" on top and "+" on bottom.


This is what they ended up looking like when I was done.  The stickers held on pretty good, so I'm not really worried about them popping off. If they do, I'll probably just cover with clear tape.


So, here are the directions to the game.  Again, depending on grade level, you can make this anywhere from a 2-digit by 1-digit game to a 4-digit by 2-digit game.  It just depends on students and what they need to practice.

This is a two to four player game. There are three sets to roll per round.  The first roll creates the first number in the problem. The second roll determines the operation (x or +). The third roll determines the second number in the problem.


In this pic, you can see the first roll came up with a 1, 5 and 3.  The second roll came up as "x", and the third roll came up with a 6, 4, and 4.

Here is where the place value comes in. Have students discuss the largest possible number they can create with what they rolled.  In this case, the first number is 532 and the second is 644.  Now students just multiply the two together.

This can become a self checking activity simply by assigning a calculator and having each player take turns checking the answer to see who did it correctly.  This provides immediate feedback for students that might have erred in their calculations.

I hope this was helpful! If you have any other ideas to add using this activity, please leave them in the comments below.

Thanks for looking!!!

Monday, July 11, 2016

Playing Card Storage for the Classroom

Lucky me!! I found these at WalMart for 14 cents!
How could I say no?
In a previous post, I shared an activity where students could practice integer fluency with a regular deck of playing cards.  
You can find that activity HERE.

Well, now I have the perfect storage for those cards!

I love to use playing cards to practice math skills in my classroom, but the boxes they come in are not very durable.  These index card boxes are the perfect size for them.


I first removed all of the items inside the box.  I kept what I might use later and threw away what I didn't need.Many of you might already know what it is like to have a classroom full of students using different sets of playing cards. Someone is going to drop a card, or two, or three on the floor.  It isn't very much fun trying to figure out what set they belong to. So I organize them this way.

I organize each set by letters.  And I write the corresponding letter on the storage box.


I use permanent markers to write the letters on the cards and on the box.

Now if a student finds a card on the floor, they know immediately which set to return it to.

I have used this method for a few years now and it works really well for me.

Let's face it, nothing lasts forever. These cards might only last one or two years. But the learning that took place using them is very valuable!

Quick Tip:  I actually found these index storage boxes in the clearance aisle about a month after school started.  You know how stores are, they clear out the back to school items to make room for the fall holiday items.  So keep an eye out for them!  They are great for storing other card activities that you might use in your classroom!  You might even be able to store crayons in them!

One more thing!  I used letters, but you could use numbers, shapes, patterns or even just a line across the back of the card using different colors of markers. Use whatever works best for you!

I wouldn't use stickers though. Those would definitely come off quickly.

I hope this was helpful!  If you have a different way of organizing and storing your cards that might be helpful to other teachers, please feel free to share in the comments!

Thanks for looking and have a wonderful day!!!!


Thursday, June 23, 2016

Foam Counting Blocks Are For More Than Just Counting!

I found these at my local Dollar Tree, but I'm sure you can find similar ones else where.  I have also seen wooden counting blocks, but I prefer these for my stations since they are quieter.


When you first take them out of the package, they are sort of stuck to each other.
But they are really easy to pull apart.

Here is one option.  Create your own foam dice!

I first tap marker where I want my dots to go on the cube.

I then make the dots larger.  This helps me keep them lined up.

So there you have it! A pair of foam dice.  I used actual dice to determine the placement of the dots. Here is how they are set up, in case you don't have access to any.
1 is across from 6, 2 is across from 5, and 3 is across from 4.
These would be great to use with the Game Board I created HERE.


You don't have to use these only for dice.
There are a variety of uses.


Make fraction dice.
You can have students roll the dice and then add, subtract, multiply or divide them.

Make percent dice.
Have students roll dice, convert percent to decimals, then have them add or subtract them.


Make decimal dice.
Have students roll dice, then add, subtract, multiply or divide.

Here's a good one!  Give students two percent dice, two decimal dice and two fraction dice.  Have them roll and then place them in order from least to greatest!

Bright, colorful, inexpensive and so easy to make!

Here are a few tips when making your own foam dice:
  • Use a fine tip permanent marker. Thicker markers tend to bleed on the foam.
  • Wait a few seconds for ink to dry so that there are no smudges on your cube.
  • Write down numbers you would like to use on paper before creating your dice so that there are no repeats.
Thanks for looking!  Hope this was helpful!!