Saturday, January 28, 2017

Pass Around Activities for the Math Class

I believe that providing opportunities for your students to discuss solutions to problems in math class is a must! They can learn from each other and teach each other. Let's face it, the reality is that some of our students will not always learn only from the teacher. We can show them 100 problems for the same skill or till we are blue in the face, sometimes they just need to hear it explained by their peers.

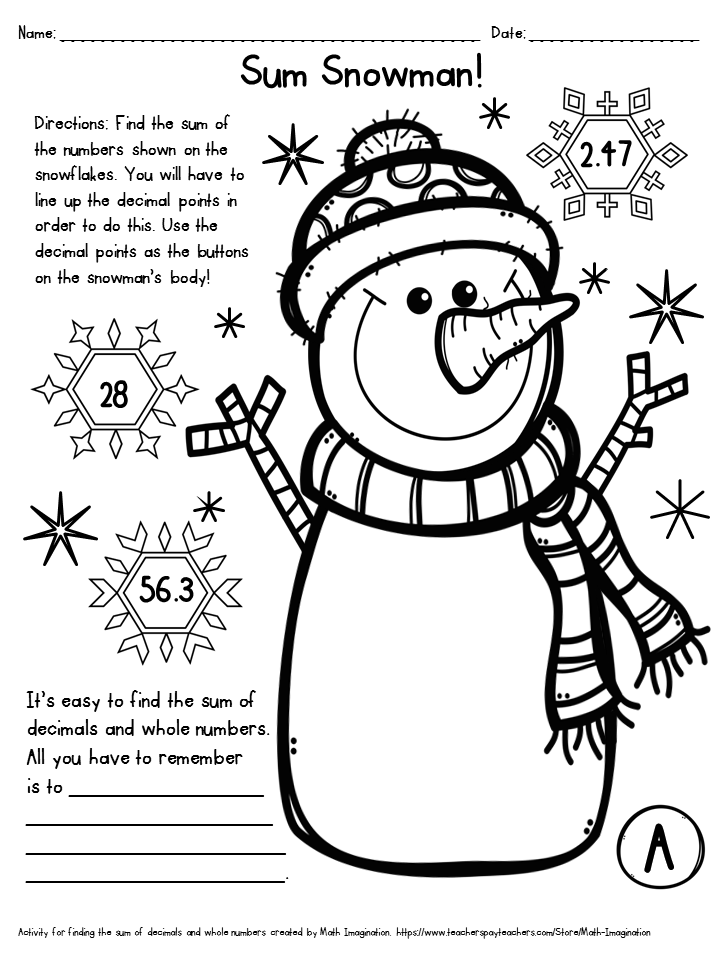
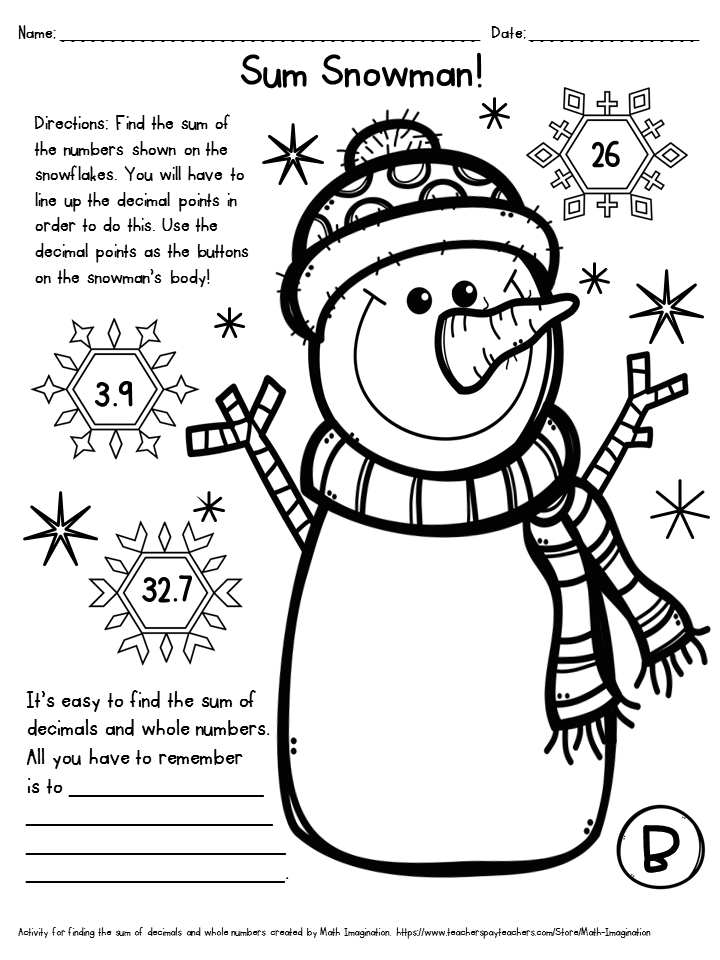
One of the activities I use in my classroom is called a "Pass Around".  There are many advantages to this activity. One is that you only need as many problems as you have groups. For example, my largest class is broken up into six groups, so I only need six problems when I use this activity. My smallest class is broken up into four groups, so I will remove problems five and six for that class.

Students are each required to show their work on their own paper, so everyone in the classroom needs their own work page. I will admit that when I first introduce this activity, some students try to get away with having only one work page for their group which leads to only one student doing all of the work. That is what we DON'T want to happen. So just look out for that. After doing this a couple of times, they get the idea. 

I then have them fold their work page in fourths and number the front 1, 2, 3, 4 and the back 5 and 6. This will change if you have a different number of groups in your class. If you have only five groups, you will have them number from 1 thru 5 and so on. The number of groups will correspond to the number of problems you will use. By the way, I have my students in groups of four. You can see how I set them up HERE.
     

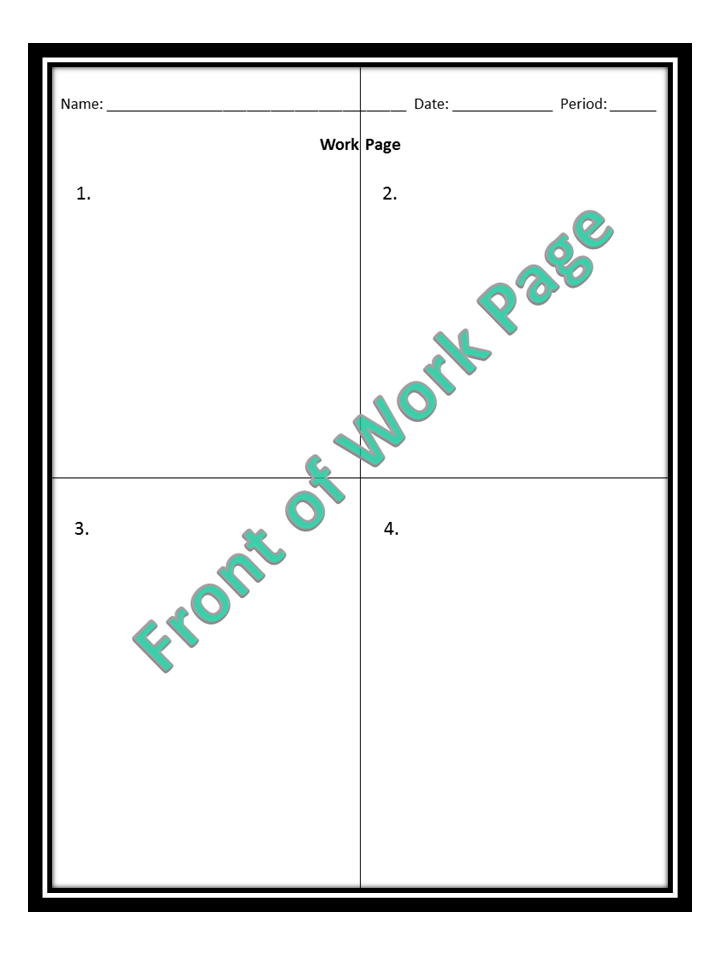
The reason I have them fold their paper like this is because even at the 7th grade level, some students still write their work ALL OVER  the place on their paper. Some students do not organize their work neatly on their paper. This is even after I tell them to set it up like we did in our notes! Ah yes, the teenage mind. This technique will at least "contain" their work for each problem in a designated section of the paper. It makes it so much easier for me when I grade their work.

I also have them decide who will have the job of "problem number monitor" for their group. Their job will be to remind the group what problem number they are on and what section of their work page to show their work on. This is because all groups will be working on different problems as the problems will be rotating around the room.

I then set the timer according to the types of problems that are being solved. The first round always takes a little longer. I think it's because of the discussion and teaching that is taking place. I give them a minute or two less for the rest of the rounds. For example, if the problems are on order of operations, they might just need four minute rounds. But if the problems are about determining a missing dimension in similar figures, they might need six minutes. The number of steps will determine the time you give.

To begin the activity, I tell the class how much time they will have for their group to find the solution to the problem they start out with. I use timers from http://www.online-stopwatch.com/.  They have colorful and fun timers that you can display. Displaying the time really keeps the students on task.


When time is up, students remain seated in their groups and "Pass Around" their problem. I have students rotate their problems clockwise or counterclockwise around the groups in the classroom. But you must keep going the same direction for the entire activity so that they keep receiving different problems. Eventually, they will complete the set of problems.


Some classes will complete all of the problems and some won't. I'm okay with that! That's because the discussions that take place, the amount of peer tutoring that will occur, and the amount of learning that will be achieved will make up for it. You will see it happen as you monitor the classroom during the activity. You can also do some one-on-one teaching and small group instruction. You will encounter "that group" that you will need to remind to stay on task, but that is nothing new in our career. :)

The best part? I didn't need to make copies of a worksheet for every student! I only needed one worksheet to cut up and write problem numbers on.

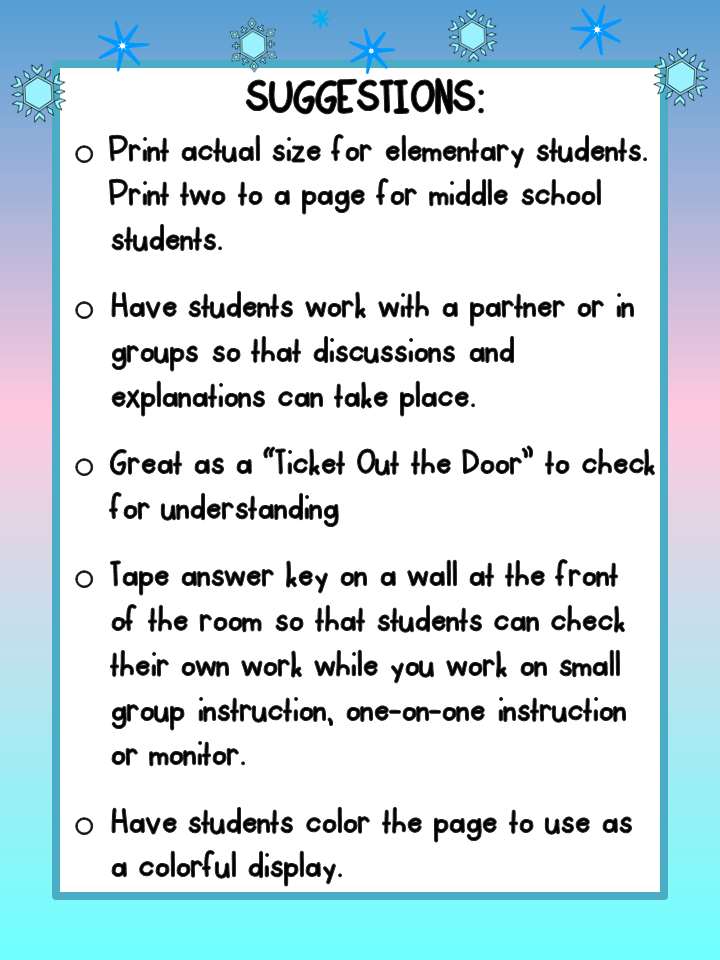
Here are more suggestions on preparing a "Pass Around" activity for your classroom.
  • Instead of just cutting up a worksheet, type up the problems and print them out on colorful card stock.
  • Laminate for durability.
  • Students can use dry erase markers on laminated cards to underline or circle important information.
  • Add clip art related to word problems to help students understand what the problem is about.
  • Print the problem so that you can fold the page in "tent" form so that all students in the group can see the problem better. Check out the pictures below. 
Same problem at the top and bottom
but opposite orientations.
Students in the group can see and read
the problem from the front...
...and the back when folded in half
to create a "tent".
  

 I hope you will try this activity out in your classroom. It will work for any subject and grade level. You can use it as a test review, guided practice, or for an enrichment class. I know it makes a difference in my classroom, I'm sure it will in your classroom too! ;)

If you have any questions, please don't hesitate to ask! I'll help with what I can.  Thanks for reading and have a wonderful day!!!


Sunday, January 22, 2017

Line them up!

I teach six 45 minute 7th grade math classes and one 45 minute math enrichment class. The math enrichment class rotates with three other core subject area teachers in my pod throughout the week. During enrichment, I try to focus on students' math weaknesses and create or look for activities to strengthen them. With that said, there is one weakness that was really driving me nuts! So this is what I did.

Many of my students were making careless mistakes when adding or subtracting whole numbers and decimals. They know about place value. They know how to set up a whole number as a decimal. However, I think they get "caught up in the moment" when solving a problem and just rush through it.  I don't know if you are aware of this, but, some students just don't like math and their goal is usually to hurry up and finish their work so that they can do something else. (Insert sarcasm here.)

I've tried several strategies, such as having them write whole numbers as money. Everyone likes money, right?! Well, that only helped a few. Then I tried having them underline the ones place in the numbers and to line those up. That was a flop. Apparently, it's too much work to underline numbers. When I would point it out to students, their response was, "Oh! I forgot." Now, when I say "point it out", all I had to say was, "This is set up incorrectly." and almost immediately they remembered the proper way.  So this is why I say that they are just rushing and they really do know how to do this. Don't you hate that this sort of stuff happens a lot in math class?

When I taught fifth grade back in the day, I remember a snowman activity I created that would help students focus on the correct way to set up problems when adding whole numbers with decimals. I gave students a picture of a snowman and a problem. They were to add three numbers, two decimal numbers and one whole number. They were to set up the numbers on the body of the snowman so that the decimal points were the buttons on the snowman. It was only one problem, but my goal with this activity was about quality, not quantity. It really helped that time, so why not try it out with my 7th graders during enrichment?

This is the activity as I created it for my 7th graders.


I made 26 different problems involving addition of two decimal numbers and a whole number. Students were each given a problem but asked to work in groups so that they could discuss and help each other when solving. 


Everyone has a different problem, so no cheating could take place. I asked them to solve their problem on the back of their page first so if they had to erase, it was okay. Notice the snowball at the lower right hand corner? That's their problem's letter. After they solve their problem, they were to go to the board to check their answer. They just had to look for their problem's letter to do that.


I also displayed a picture of the snowman with a problem completed to show students how the "buttons" should look.  If they answered correctly, they were to complete the front of the page and color the snowman. If they were incorrect, they were to go back and correct it.


Students did enjoy the activity and there were many great discussions.  With this activity, I know a great memory was made that will help them remember to line up those decimals! Their discussions also helped them to complete the statement at the bottom of the page. It also makes a great display. It's a win-win!!!

You can find this activity HERE.

I hope you find this activity helpful. It can be used for different grade levels, as a ticket out the door or as I review.  

Thanks for reading and have a wonderful day!!!!


Sunday, January 1, 2017

New year! New you! New seating assignments?

I hope everyone brought in the new year with happiness and joy! I also hope you have had the chance to re-energize during winter break for the second half of the school year!

It's been a while since my last post. I blame it on work overload and holiday chaos. I'm sure many can relate.  ;)

Any who! It seems the new year has blessed me with a huge wave of ideas and energy. (I truly hope it will last all year.) 

I'm actually thinking of going to work before I actually HAVE to go to work, if you know what I mean. You know the saying, "New year, new me!" Or at least, new seating arrangements and new seating charts. Yeah, it's about that time.

Let's talk about these, shall we? This is what I do in my classroom.

I have my desks set up as illustrated below. I actually write the letters and numbers on the desks with permanent marker. I've tried the colored dots, labels, stickers, etc. with packing tape, but some students keep fidgeting with the tape and curling the ends. GRRRRRRR! Don't you just hate that?


The number on each desk is the group number and the letter represents the student sitting at that desk. It comes in handy and definitely avoids confusion. For example, if I'm calling up a group to conduct a presentation in front of the class, I just call on Group 3 when it's their turn. If it's time to put away journals, I'll just have student C from each group put them away. No arguing. No chaos. I love it! You can find more information about writing on desks with permanent marker HERE.

By the way, I refer to this as "Position One". All desks facing the front of the classroom. As you can see, the illustration above shows 24 desks. You know and I know that not ALL classes have exactly 24 students, so you have to be creative for some classes. If I ask student D to gather the supply baskets for their group and student D from Group 4 is absent or no one sits at this desk, I just tell students to go on to the next in line which would be student A in their group. I just needed to tell each class about this once and they caught on really quick.

My students talk a whole lot in my classroom. I love for students to discuss ideas for solutions, take turns explaining to each other, and peer tutor during certain activities. "Shoulder partners" are perfect for doing this! So is "Position One".  Group 1 is shown below. Students A and B are shoulder partners and students C and D are shoulder partners.  If the activity involves taking turns, I'll just have students A and D from each group go first, then tell students B and C to go second.  It works really well in my classroom.
 
"Position Two" is for group activities, such as stations, projects, etc. Sometimes, I even allow students to sit in "Position Two" to complete a practice sheet for a newly presented skill. This gives students that are struggling or don't understand something a chance to ask students in their group for help. This works really well for students that are too shy to ask the teacher for help in front of the whole class. Some students prefer to ask a peer instead of the teacher on certain situations. They just feel more comfortable doing that. I'm okay with that as long as they are learning!


As you can see, only students A and B move their desks so that they face each other. Students C and D remain in the same position. This makes the transition from one position to the other easier, quicker, quieter and smoother.  It also allows all students in the group to face each other to allow for better communication during activities.


By now you have noticed the order of the letters in my groups. It comes in handy for activities that require all students in a group to take turns participating. I direct them to take turns clockwise or counterclockwise. This is so that they can understand what direction clockwise and counterclockwise go in, especially if and when it appears on a particular test. You know it will and not only on a math test. ;) Most importantly, with more vocabulary, they receive more knowledge and more power!

Another advantage to setting up your desks this way is that you can make larger groups for other activities. For example, you can have all A's form a group, B's form another group, all C's form a group and all D's make the last group. They can do a gallery walk activity then reconvene with their main group to share ideas they gathered from the group they were just in! Imagine all of the discussions, ideas shared and learning taking place!

Whew! That sure was a whole lot of information!  I truly hope it is helpful.

I'd like to spend a little more time explaining how I assign seats now. I promise, I'll be quick. 

I don't allow my students to just sit anywhere they would like. I'm pretty sure you know why. I use test data.  For example, when we finish a unit and take the unit test, I place students from highest score to lowest score. I then create quartiles, so that I have quartile 1 (highest), quartile 2, quartile 3 and quartile 4 (lowest).  I place one student from each quartile to form one group alternating between highs and lows. This way, students can peer tutor each other when they are doing a shoulder partner activity and their levels are not so far apart that they will get frustrated with each other. I also do take personality conflicts into consideration. :)


I hope these tips on seating arrangements are helpful! As anything else in life and on the internet, all of these are not guaranteed to work but they are definitely worth a try!  I do understand that everyone is different, students and teachers alike. I also understand that everyone has their own ideas as well.  I am just sharing what works for me in my classroom in hopes of helping someone else.

Thanks so much for reading and have a wonderful 2017!

If you do have any questions, please don't hesitate to contact me. I will get back to you as soon as I can!  ;)